Because in the Digital Age, Photos Only Tell Half the Story
Virtual tours have become a major player in real estate marketing. They give potential buyers the power to “walk through” a home without ever setting foot inside. If you’re hoping to reach a wider audience, reduce in-person showings, and help serious buyers fall in love with your property, a good virtual tour can be a game-changer.
But how do you make a virtual tour that stands out? What steps do you need to follow, and which pitfalls should you avoid? This guide breaks it all down—from choosing the right tech to spotlight your home’s best features—so you can create an online experience that leaves viewers ready to schedule an in-person visit or, in some cases, make an offer on the spot.
Feel free to grab a cup of coffee, take a seat, and let’s dive into the details of crafting a virtual tour that actually sells.
1. Why Virtual Tours Matter
Increased Reach
A virtual tour attracts not only local buyers, but also those who live out of town (or even across the globe). It helps them explore properties without costly or time-consuming travel. By providing this convenience, you broaden your pool of potential buyers.
Time Savings
Virtual tours save time for everyone involved. Instead of scheduling multiple in-person showings with buyers who might lose interest once they see certain features, you can attract only the most serious prospects. Viewers can decide from the comfort of their homes if the property fits their needs before requesting a tour.
Competitive Edge
Online listings often blend together, especially if they rely on photos alone. A well-produced virtual tour sets you apart from other sellers. It signals professionalism, tech-savvy marketing, and transparency about the property.
2. Know Your Audience
Busy Professionals
Some buyers work long hours or travel frequently. A virtual tour allows them to get a full sense of your property whenever it suits their schedule. They can hop online late at night or during a lunch break, eliminating scheduling conflicts.
Out-of-Town and International Buyers
Relocating can be challenging, especially if someone is moving from a different state or country. Offering a virtual walk-through can significantly ease their decision-making. It also reassures them that you’re committed to making the process simple and convenient.
Local Buyers Doing Initial Research
Even local buyers often start online. A virtual tour can encourage them to book an in-person visit, or conversely, help them rule out homes that aren’t a good match. In either case, you’re streamlining the process.
3. Choosing the Right Tools and Formats
3D Tour Software
Several platforms specialize in creating immersive 3D tours. Popular examples include Matterport, iStaging, and Cupix. These solutions use specialized cameras or 360° images to map out your interiors, creating a “dollhouse” effect that allows users to navigate each room.
Pros: Offers high-quality, interactive tours.
Cons: Often requires special equipment or services, which can add to your budget.
360° Panoramic Photos
If a fully 3D tour seems too complex, 360° panoramic images are a simpler, more budget-friendly alternative. You can capture these with a 360° camera or even your smartphone, depending on the model and apps you use. Each image can be stitched together or uploaded in sequence to simulate a virtual tour.
Pros: Lower cost and simpler setup than 3D tour systems.
Cons: Less immersive. Viewers click from one photo to the next, rather than “walking” seamlessly through the property.
Video Walkthroughs
Some sellers prefer to upload a guided video tour. It can be as straightforward as filming each room and narrating key features. Editing tools can help you add transitions, text overlays, or background music.
Pros: Easy to produce and share on social media.
Cons: Viewers have less control over what they see, which can be a downside for those who want to “look around” freely.
4. Prepping Your Home for a Virtual Tour
Declutter and Clean
Virtual tours capture everything in sight. Make sure your property is spotless and uncluttered. Remove unnecessary items, hide personal photographs, and ensure all surfaces shine. Think of it as staging for an open house, but with even more scrutiny since viewers can zoom in.
Address Minor Repairs
Loose doorknobs, chipped paint, or a leaky faucet might not stand out in a rushed in-person tour, but in a high-definition virtual experience, small issues become more noticeable. Fix them beforehand so viewers don’t get stuck on minor flaws.
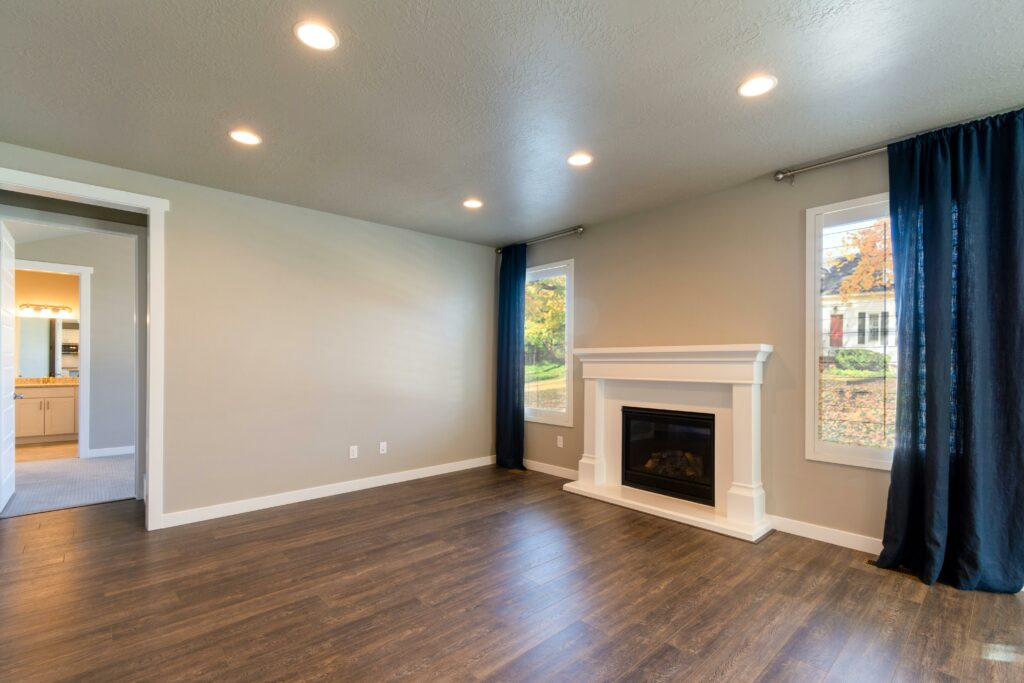
Optimize Lighting
Good lighting enhances every photo and video. Open curtains or blinds to let in as much natural light as possible. Switch on overhead lights and lamps for extra brightness. If you’re shooting with a 360° camera or filming a walkthrough, test each room for shadows or glare.
Consider Staging
If your home is vacant, either physically stage it with rental furniture or use virtual staging. Tastefully placed furniture helps viewers grasp the size, layout, and potential uses of each space.
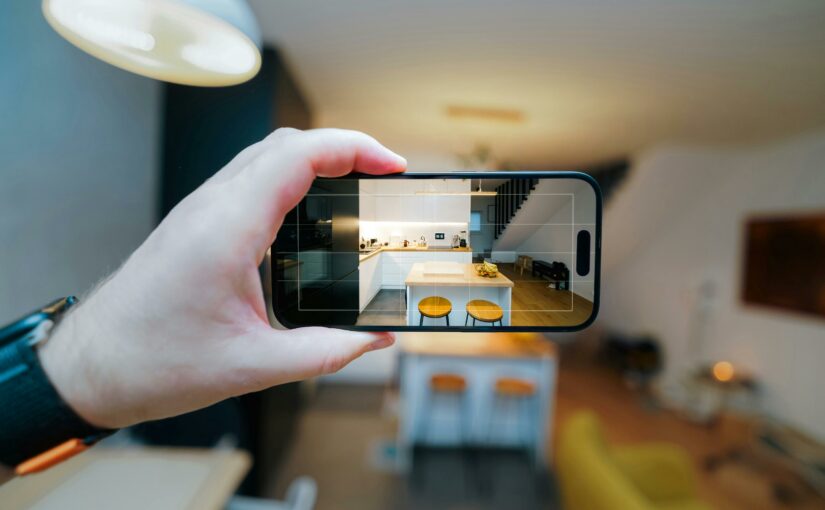
5. Shooting the Tour: Best Practices
Plan Your Route
Before you start capturing footage or images, plan a logical path that mimics how someone might walk through the home. Typically, you’d begin at the front door, move through common areas like the living room and kitchen, then head to bedrooms, bathrooms, and finally outdoor spaces.
Keep the Camera Steady
Shaky footage can be jarring. If you’re filming a video walkthrough, invest in a stabilizer or use a tripod for static shots. For 3D scans or 360° images, follow the platform’s instructions carefully to ensure consistent positioning.
Capture Multiple Angles
Give viewers a sense of depth. If you’re using 360° images, shoot each major room from at least two different spots to provide a comprehensive view. If you’re making a video, include wide-angle shots of each space, plus some close-ups of noteworthy features (like a gourmet stove or an elegant fireplace mantel).
Mind the Details
Check that the toilet lids are down, the curtains are neatly arranged, and the counters are clear. Small details can make a big difference in the polished look of your virtual tour. Double-check each room for any visible clutter or personal items you’d prefer not to include.
6. Editing and Final Touches
Consistent Branding
If you’re attaching a logo, agent contact info, or property address, ensure it appears uniformly across all panoramic images or video segments. This cohesive branding helps viewers remember your listing.
Add Informative Labels
Many virtual tour platforms let you place “tags” or labels within a room. Use these to highlight key features, like newly installed hardwood floors, energy-efficient windows, or a renovated ensuite bathroom. Make sure the descriptions are concise and helpful.
Background Music or Voice-Over (Optional)
In a video walkthrough, subtle background music or a voice-over can set the mood. If you choose to speak, keep your tone friendly and the information factual. Briefly mention room dimensions or special upgrades, but avoid long-winded commentaries.
Quality Check
Watch or navigate the tour as if you were a prospective buyer. Check that each image is clear, the transitions work, and any embedded text is readable. If something looks off, re-shoot or re-edit as needed.
7. Hosting and Sharing Your Virtual Tour
Real Estate Portals
Some property listing sites allow you to embed virtual tours or at least link to them. Take advantage of this feature. A virtual tour can set your listing apart from the crowd.
Personal or Agent Website
If you have a website, host the tour there. That way, you maintain full control over how it’s displayed. You can also track analytics, like how many people view the tour or which rooms they spend the most time exploring.
Social Media
Platforms like Facebook, Instagram, and LinkedIn can amplify your reach. Share a snippet of the tour or screenshots that link back to the full experience. Encourage followers to comment, share, or tag someone who might be interested.
Email Campaigns
If you have a list of potential buyers or if your real estate agent maintains a database, send out a brief announcement with a link to your new virtual tour. Include a catchy subject line and a clear call to action—such as “Take a Virtual Stroll Through This Newly Renovated Kitchen.”
8. Avoiding Common Mistakes
Overly Long Tours
Viewers may lose interest if your virtual tour drags on. Aim for a time-efficient presentation. It’s important to show every space, but do so concisely.
Overediting
Color correction or virtual staging can enhance your tour. However, be transparent about any digital modifications. Overly perfect images can lead to disappointment during in-person showings.
Neglecting Mobile Users
Check that your virtual tour is mobile-friendly. Many buyers use their phones for property searches. A tour that only looks good on a desktop might frustrate a large segment of viewers.
Ignoring Security and Privacy
If you live in the home you’re selling, remove personal items and ensure the tour doesn’t reveal sensitive details. Check that house numbers, family photos, or personal documents are out of view.
9. Integrating Virtual Tours into Your Overall Strategy
Pair with Quality Photographs
Virtual tours don’t replace strong listing photos. They complement them. Continue to include bright, appealing images that help potential buyers decide if the virtual tour is worth their time.
Mention It Everywhere
Promote the fact that you offer a virtual tour. Add a line in your MLS listing, flyers, or any marketing materials. Some buyers specifically look for this feature.
Stay Responsive
Once your tour is live, be ready for inquiries. Potential buyers might message you with specific questions about the layout, finishes, or details that aren’t immediately clear from the virtual experience. Respond quickly and thoroughly.
Consider Live Virtual Showings
For serious buyers who want a more personalized look, consider a live virtual showing. Platforms like Zoom, FaceTime, or WhatsApp enable real-time interaction. Buyers can request closer views of certain areas or ask questions as they walk through the home.
10. Encouraging the Next Step
A virtual tour should whet buyers’ appetites, but it doesn’t seal the deal on its own. Encouraging the next step—an in-person visit, a conversation with an agent, or a formal offer—remains crucial.
Clear Calls to Action
Place calls to action throughout your online listing, such as “Schedule an In-Person Tour Today” or “Contact Us for More Information.” If a prospective buyer is intrigued by the tour, make it easy for them to move forward.
Combining Strategies
Pair your virtual tour with other marketing efforts. Highlight your top staging tips, open house details, and any unique selling points. If you’re looking for more advice on making your home look its best for either a virtual or in-person showing, check out our article on Maximize Your Property’s Appeal: Tips for Showcasing Your Home. It’s filled with practical, easy-to-implement ideas.
11. Final Thoughts
Virtual tours are here to stay. They’ve moved from being a novelty to a near necessity in modern real estate marketing. By creating an immersive, user-friendly experience, you not only stand out but also give prospective buyers a better sense of your property’s flow, style, and features.
Remember to choose the right format—3D, 360° images, or a guided video—that best suits your budget and technical comfort. Prep your home meticulously, highlight its strongest attributes, and consider adding simple labels or commentary for context. After you’ve edited and posted your tour, share it widely, remain responsive to inquiries, and encourage viewers to take the next step toward becoming actual buyers.
Ultimately, a great virtual tour can save everyone time and deliver a more satisfying experience. It’s a chance to show off the real personality of your property without the constraints of distance or scheduling. Embrace the technology, put in the effort to do it well, and watch how it can elevate your overall marketing strategy.
Best of luck showcasing your home in its best light—virtually and beyond. When done right, your tour can be the key that unlocks a buyer’s imagination and paves the way to a successful sale.