Many problems can be created by a poorly written rental listing. It not only causes your house to sit on the market longer, but it also brings the wrong people to showings, and sets wrong expectations before a tenant even signs a lease. A landlord’s rental listing is their first filter for tenant screening. Making sure that the listing is correct before bringing in any potential renters can save a lot of time and frustration in the long run.
Details In Rental Listings That Matter To Renters
First, your rental listing needs to include the core details that a renter is searching for, to answer the specific needs of a renter search inquiry. A “cozy unit in a great location” rental listing description tells a prospective tenant almost nothing in terms of the core rental property details of importance to answer their rental search inquiry.
Every rental listing should include:
- Square footage and number of bedrooms and bathrooms
- Parking availability (street, dedicated, garage)
- Pet policy and any breed or weight restrictions
- Laundry options (in-unit, shared, or none)
- Utility responsibilities. Make clear which utilities the owner will pay for and which the tenant will pay for.
- Lease length and move-in date
- Proximity to transit, schools, or major employment centers
The U.S. Department of Housing and Urban Development explains that factors related to services and transportation play a significant role in the housing searches of extremely and very low-income renters and permitted households. Thus, listing information related to location near public transportation, schools, employment centers, parks, etc. in your rental listings will filter in prospective tenants who are looking for such housing features and filter out those who are not.
Write a Description That Is Honest and Specific
The description of the rental property does not have to be perfect but it should accurately represent the rental property so that the proper potential renter can self select.
Focus on what makes the property genuinely useful:
- Natural light and layout details
- Recently updated features, (i.e. New Appliances, fresh Paint, updated Fixtures).
- Storage space, outdoor areas, or unique features
- Building or neighborhood character where relevant
Some descriptions include phrases of adjectives that simply fill space. ‘Charming’, ‘Cozy’, ‘delightful’, there is nothing more to read and nothing of value is gained by reading on. Similarly, just stating that a property is ‘move-in ready’ gives the reader nothing. It is up to the agent or property manager to list out the updates done in the property over the last two years. A recently updated kitchen would read: ‘The kitchen was recently updated with new countertops and new stainless steel appliances approximately two years ago.’ This gives the reader clear and credible information on which to base their decision.
Prioritize Photos That Answer Practical Questions
Photos that don’t accurately portray a space give renters the wrong impression and ultimately cause them to go to another listing. Dark or low quality photos do not give renters enough information to accurately gauge a space. This causes them to look at other listings for rental properties.
At minimum, a listing should include clear photos of:
- Every bedroom
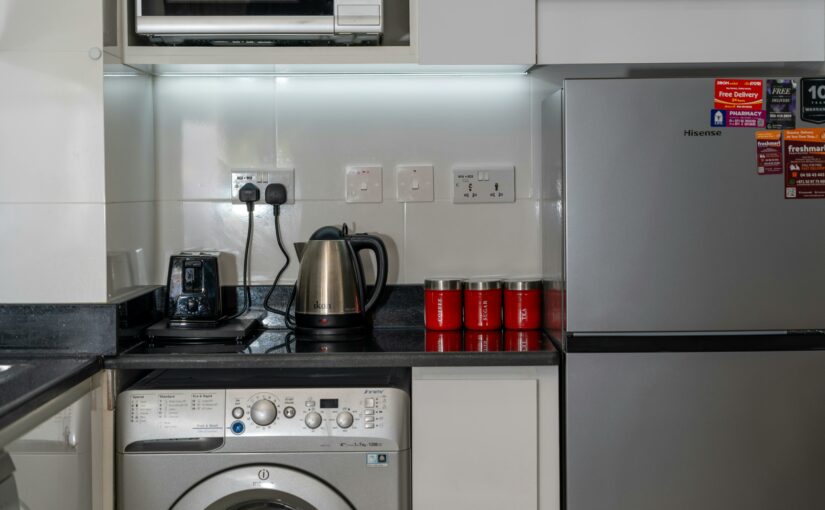
- The kitchen (including counter space and appliances)
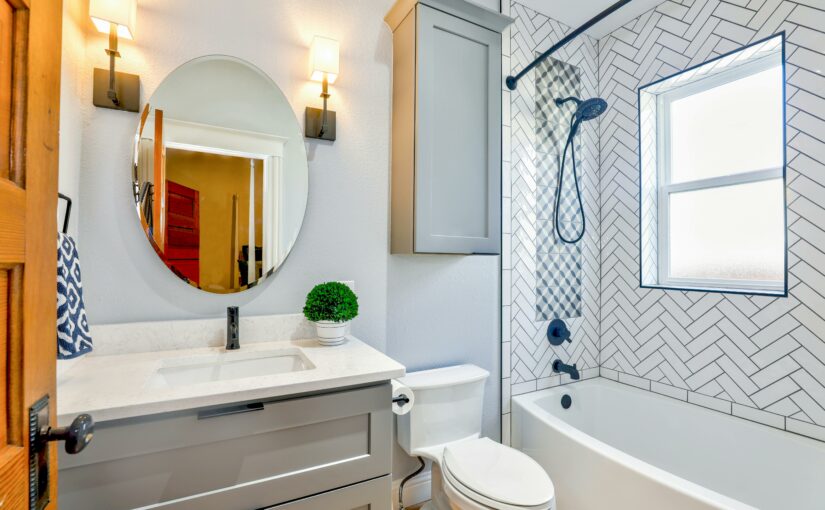
- The bathroom(s)
- Living and dining areas
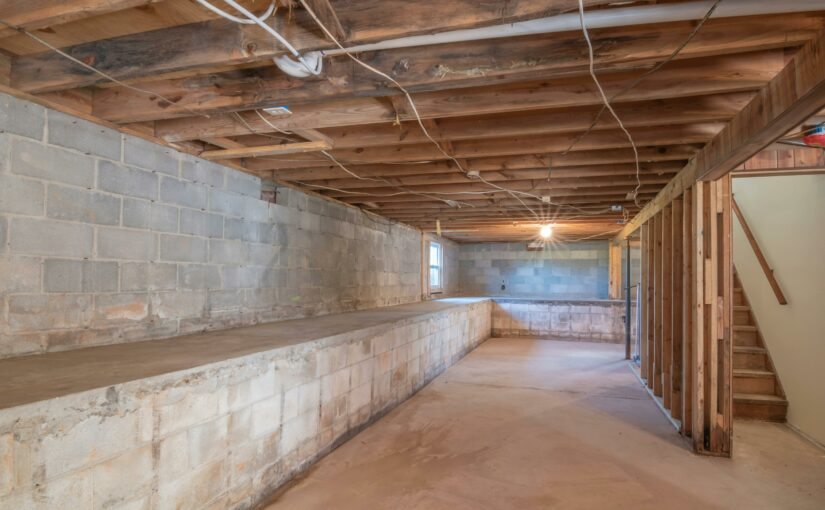
- Storage spaces, closets, and any outdoor area
- The building entrance and parking area
High-quality photos will get way more engagement on your rental listing than subpar ones. Incorporating natural lighting, a clean, neat environment, and a good width in your photos will greatly aid your efforts in acquiring quality leads to prospective renters. If you aren’t able to afford professional photos of the space, then taking photos throughout the day near windows will undoubtedly get better results than dark, enclosed spaces shot with a phone in dimly lit conditions.
Reduce Low-Quality Inquiries With Clear Qualifying Language
One of the things that a rental listing can do to ensure that the correct amount of inquiries are generated is to include sufficient qualifying language in the body of the listing so that only interested, qualified potential renters follow through with an inquiry regarding the rental in question.
Consider including:
- Monthly rent and security deposit amount
- The minimum amount of yearly income that the renter must have to qualify for the apartment (commonly 2.5-3 times the monthly rent).
- Credit check disclosure
- No smoking allowed.
- No short-term subletting allowed.
List the requirements that would weed out unqualified leads. For example: the monthly rent and security deposit, the minimum income required (often stated as 2.5 to 3 times the monthly rent), and any other requirements such as a credit check disclosure or smoking or short-term subletting prohibition. Many landlords find that listing their requirements upfront weeded out most of the low-quality leads, saving them from a lot of back-and-forth with unqualified leads.
Why Presentation Extends Beyond the Listing
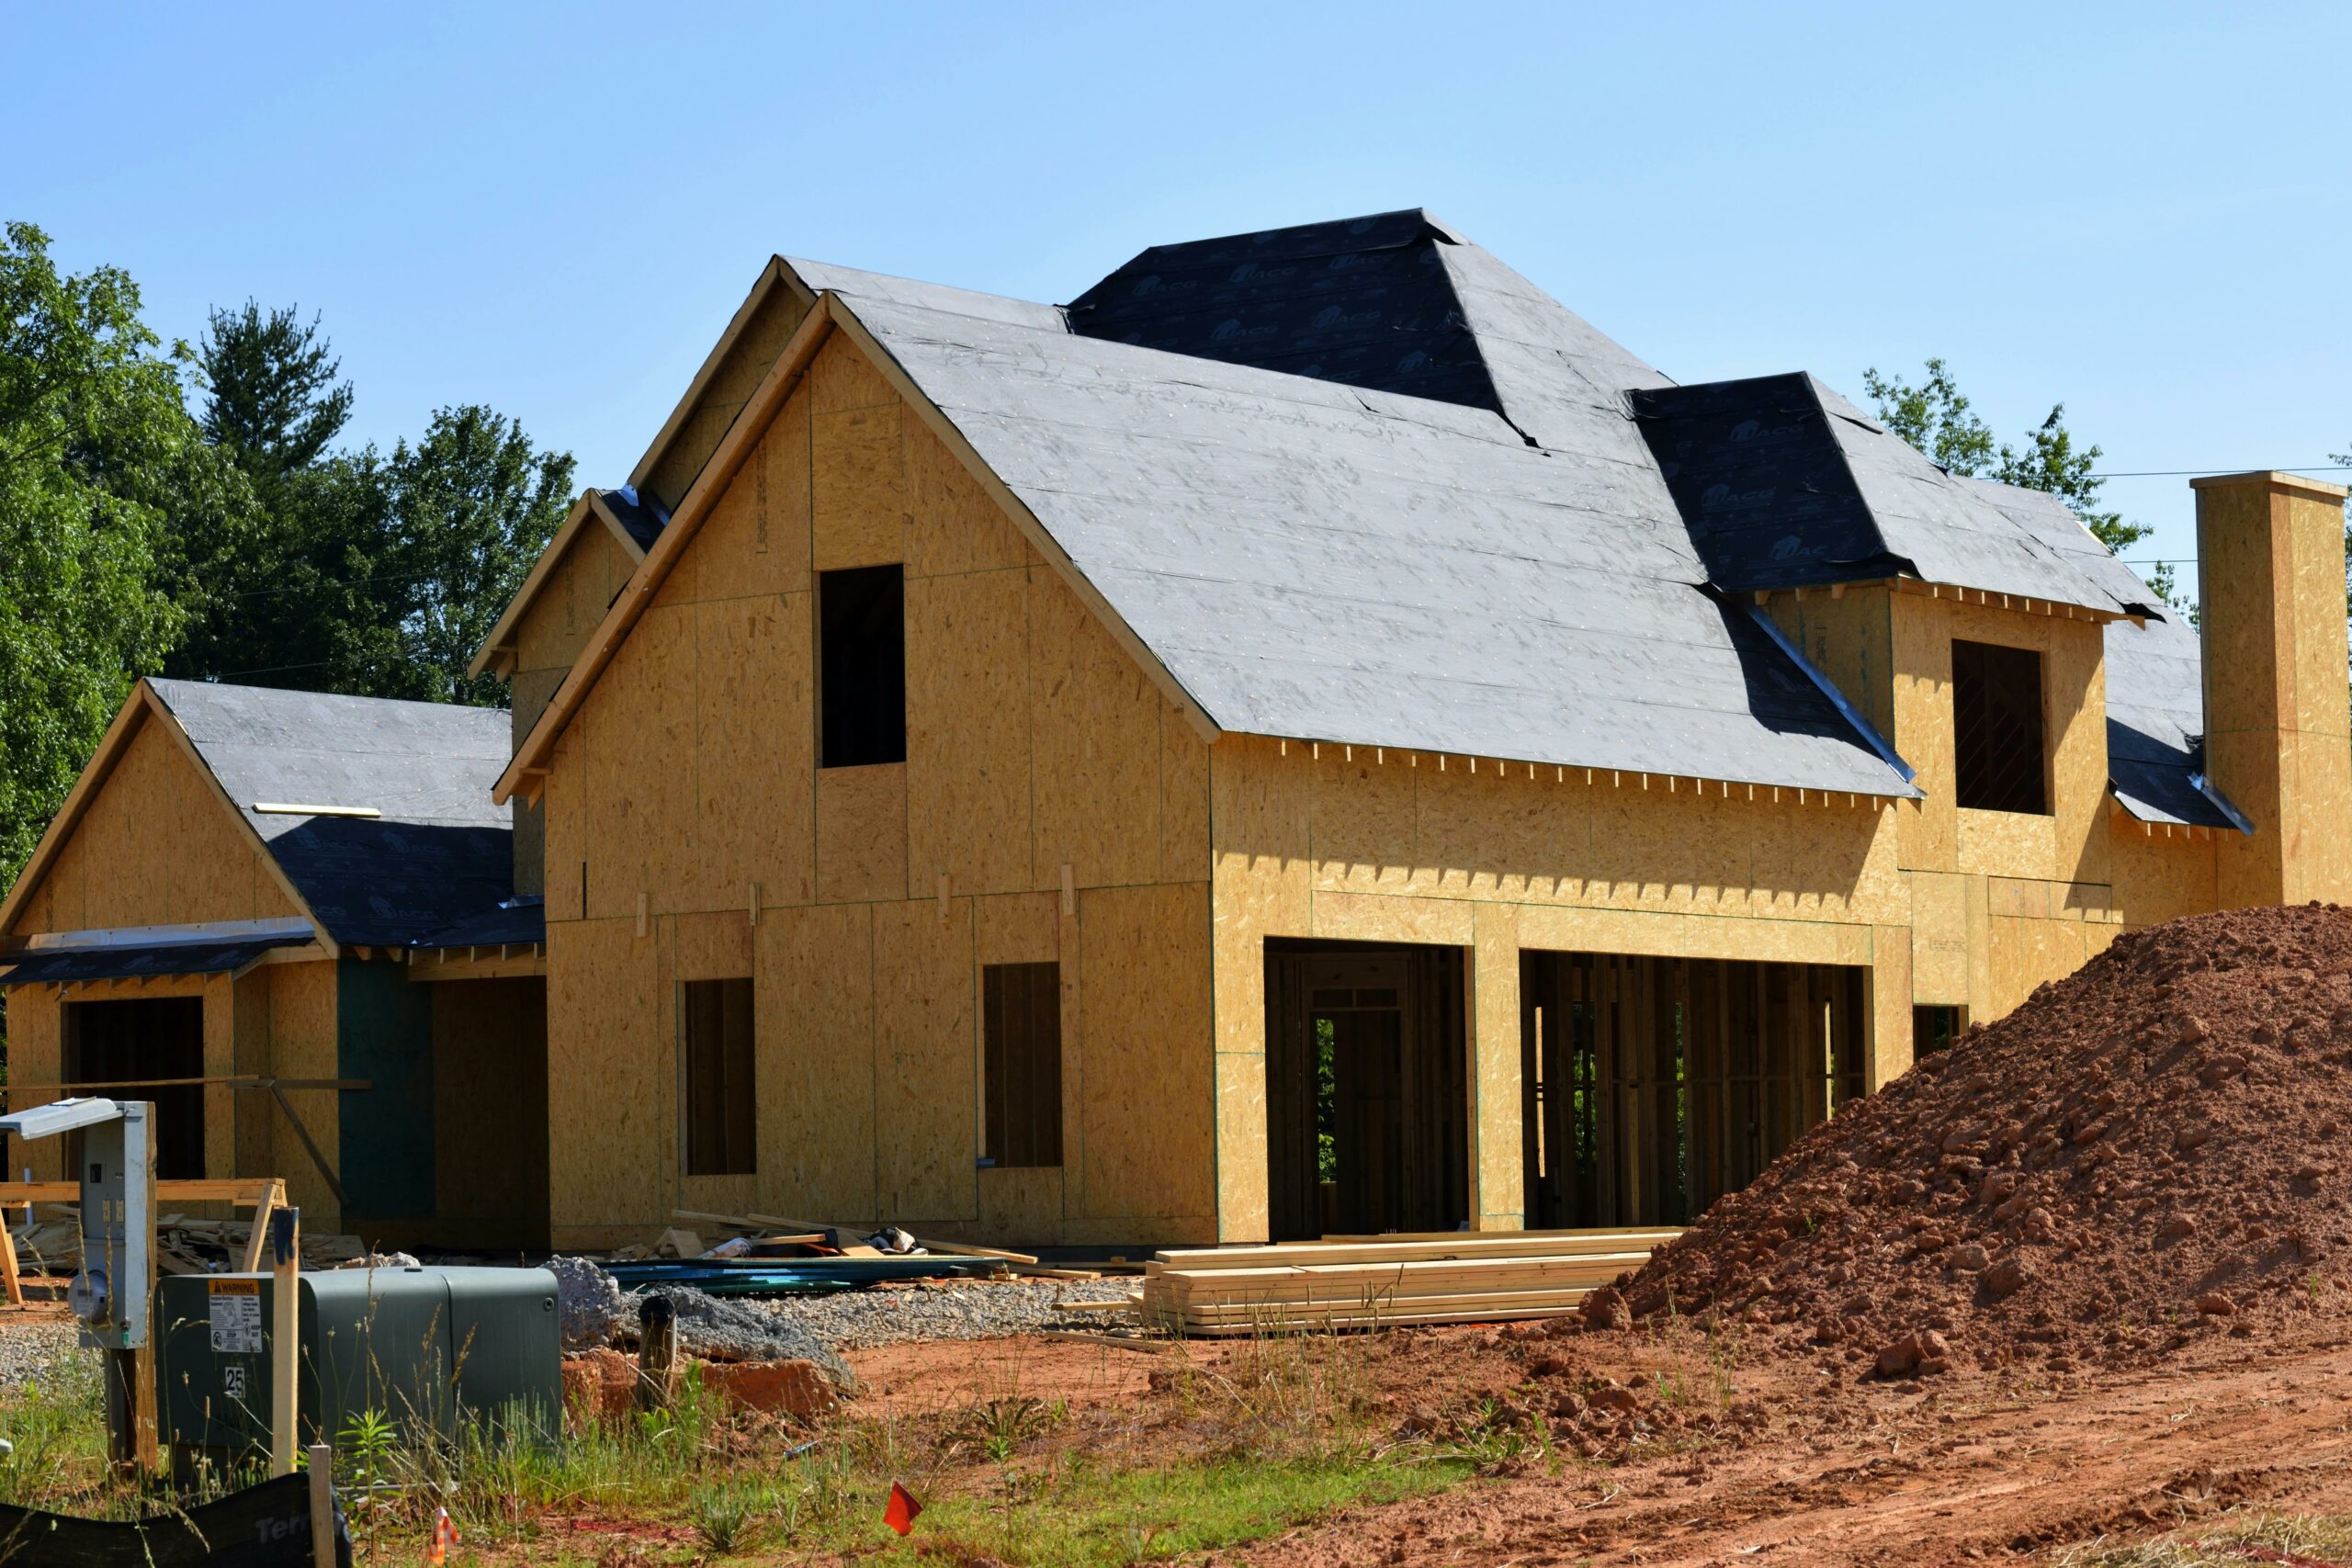
A listing is a reflection of the rented property. If a landlord takes time and effort to make a property “rent ready” prior to placing it on the market, then a quality listing will be the result. The landlord will get better tenant inquiries and a smoother process from time of inquiry to the signing of the lease.
There are numerous property management companies that help owners prepare rental properties for the market and attract qualified tenants. They typically follow a rental-ready checklist to ensure the property is in excellent condition before it is listed.
Earnest Homes takes this approach by guiding owners through each step of the preparation process before a listing goes live. Even owners who choose to self-manage can benefit from making sure the property is fully rental-ready, as this often leads to stronger interest and better-quality tenants.
A Better Listing Is a Better First Impression
These advertisements also serve as an indicator to prospective renters of how any given property is to be managed by its owner or landlord. An accurate and detailed advertisement will typically filter for quality landlords and vice versa prior to ever having to speak with them. If you’re ready to get started, you can post your property advertisement for free and reach renters across 125 countries – or browse current properties for rent to see how well-written listings present themselves in practice.